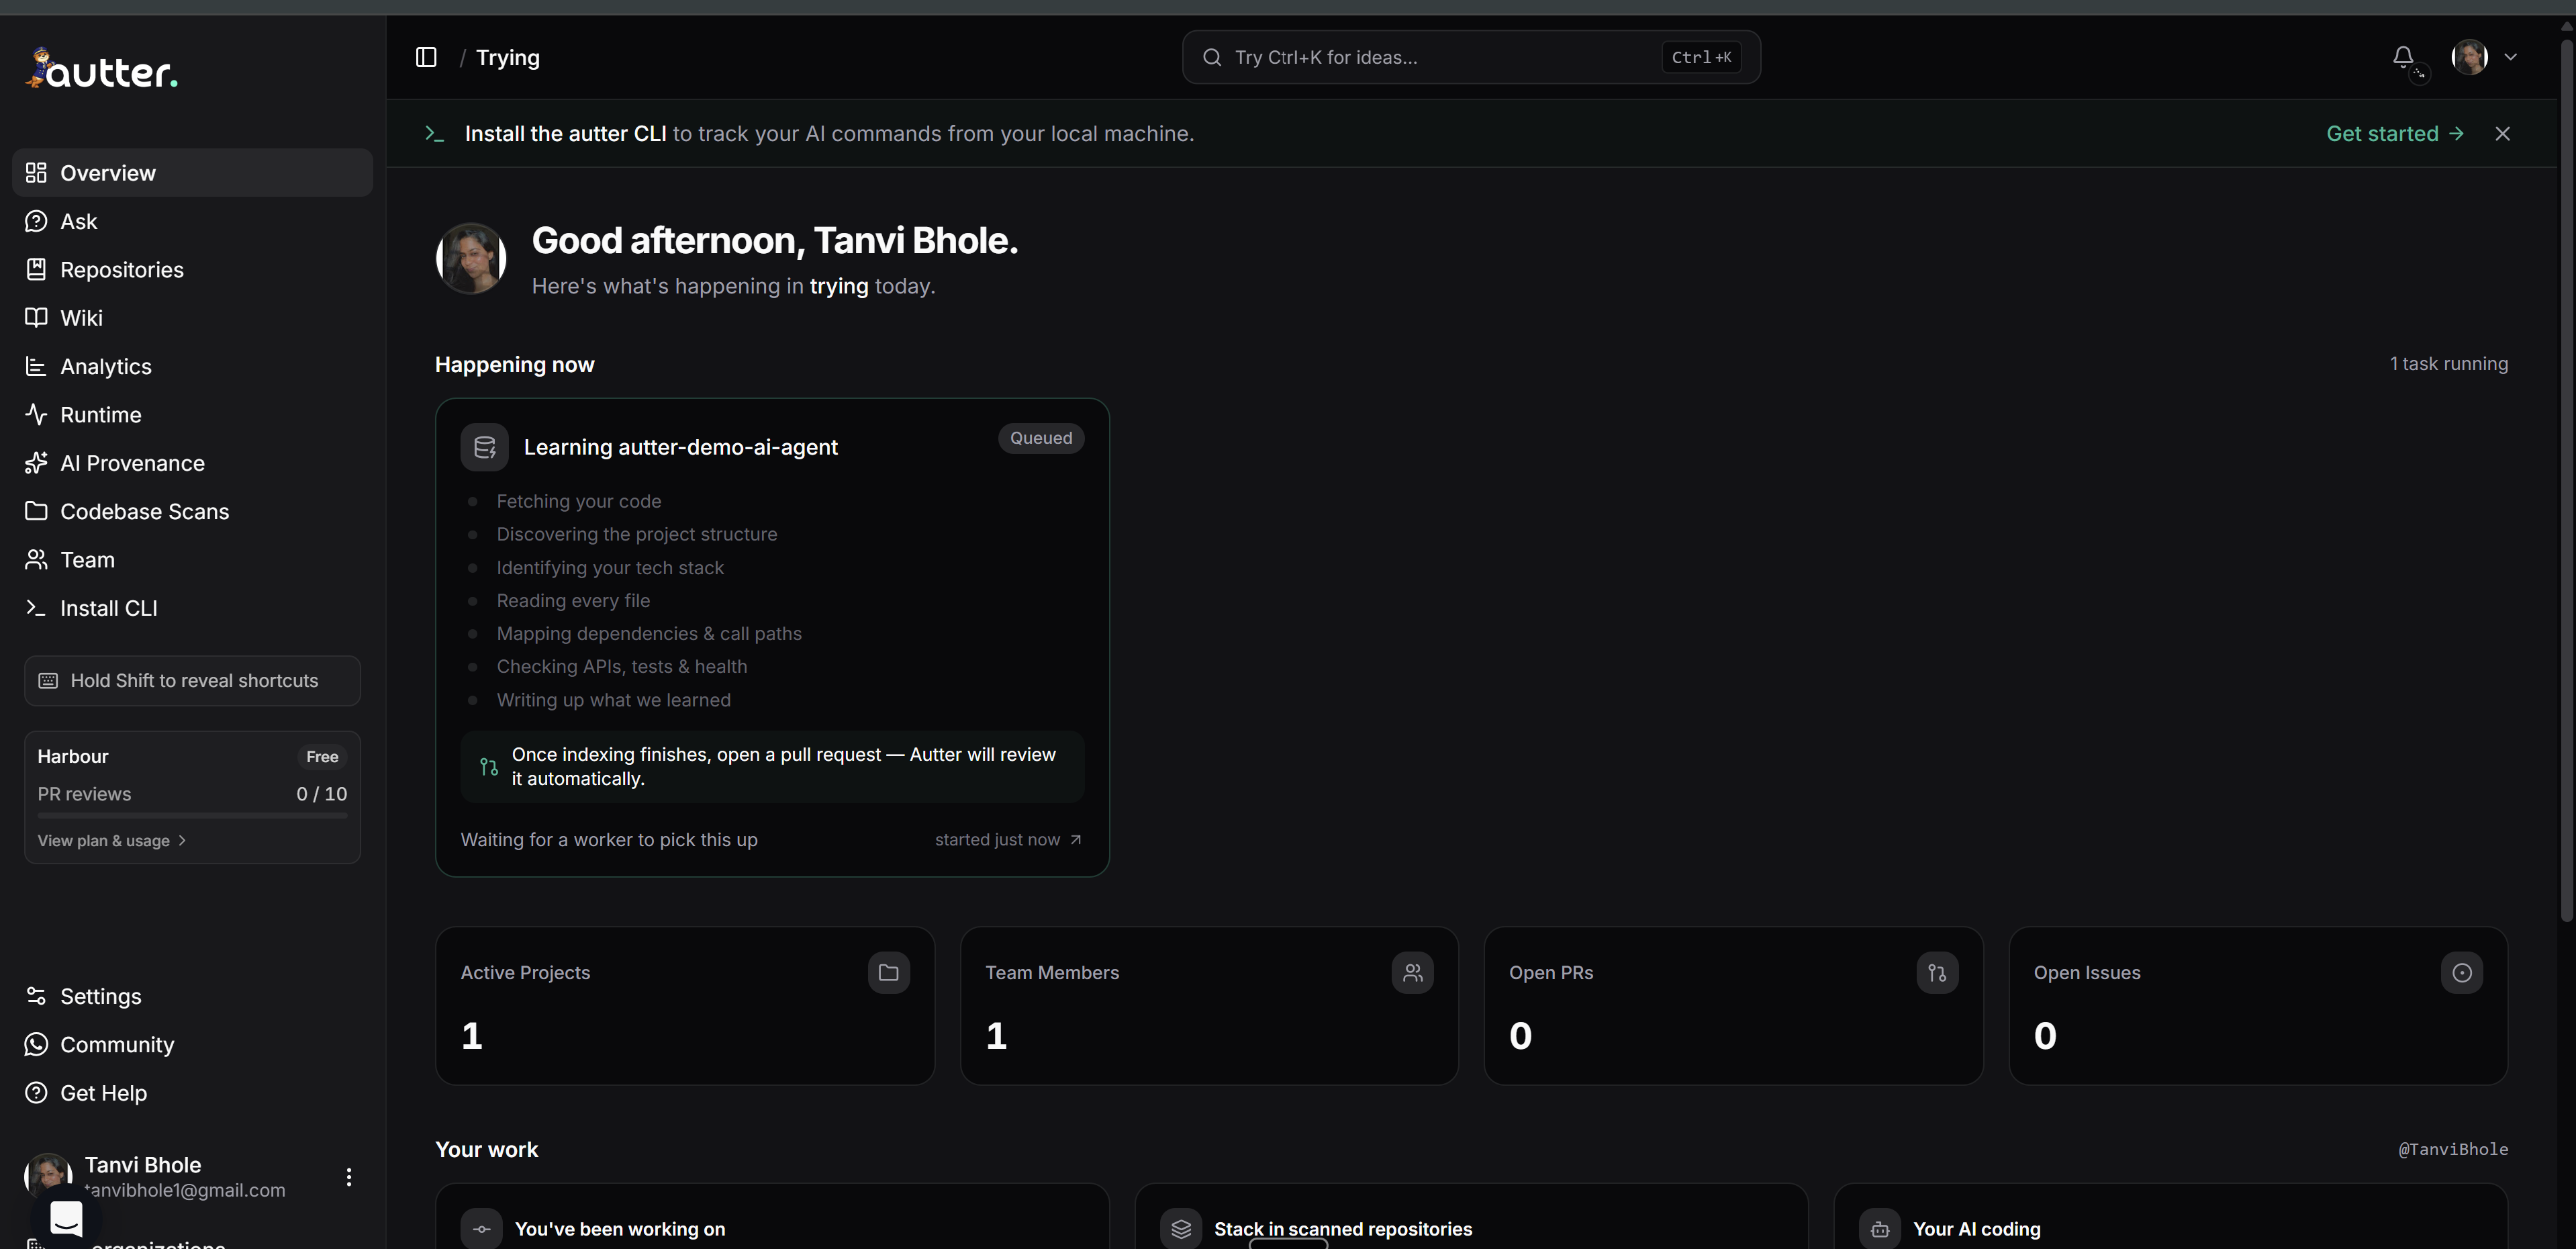
The demo repository walkthrough
Get started with Autter.
From your first sign-in to your first demo repository. Follow the steps below, with the screenshots beside you.
Before you start
You’ll need a GitHub account to connect and copy the demo repository. You can sign up for Autter with GitHub or Google / Gmail.
Keep this guide open while you work through the setup in another tab.
Step 1: Sign up for Autter
Go to app.autter.dev/login and sign up using your GitHub or Google / Gmail account.
Step 2: Create an organization
After signing up, click Create Organization.

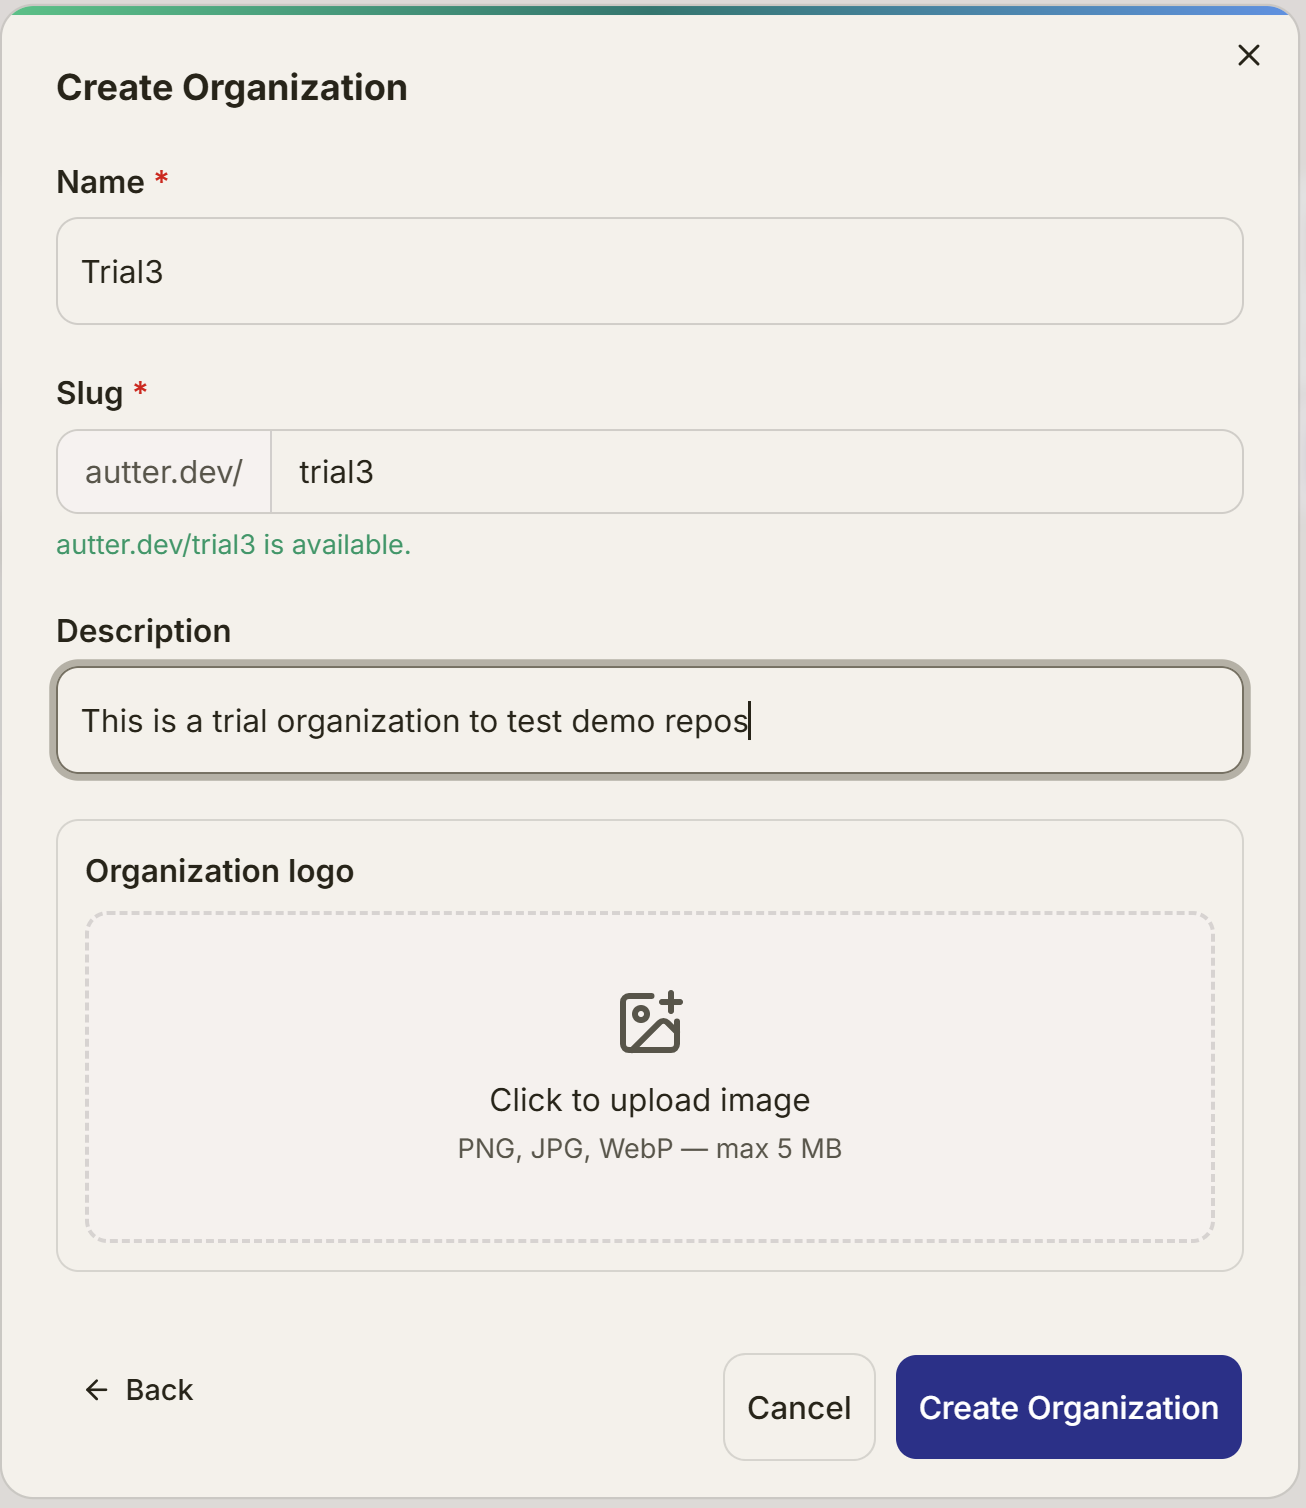
Step 3: Set up your trial organization
Follow the guide on the website to create your trial organization.
Step 4: Open repository selection
Once your organization is created, you’ll see the option to select repositories.
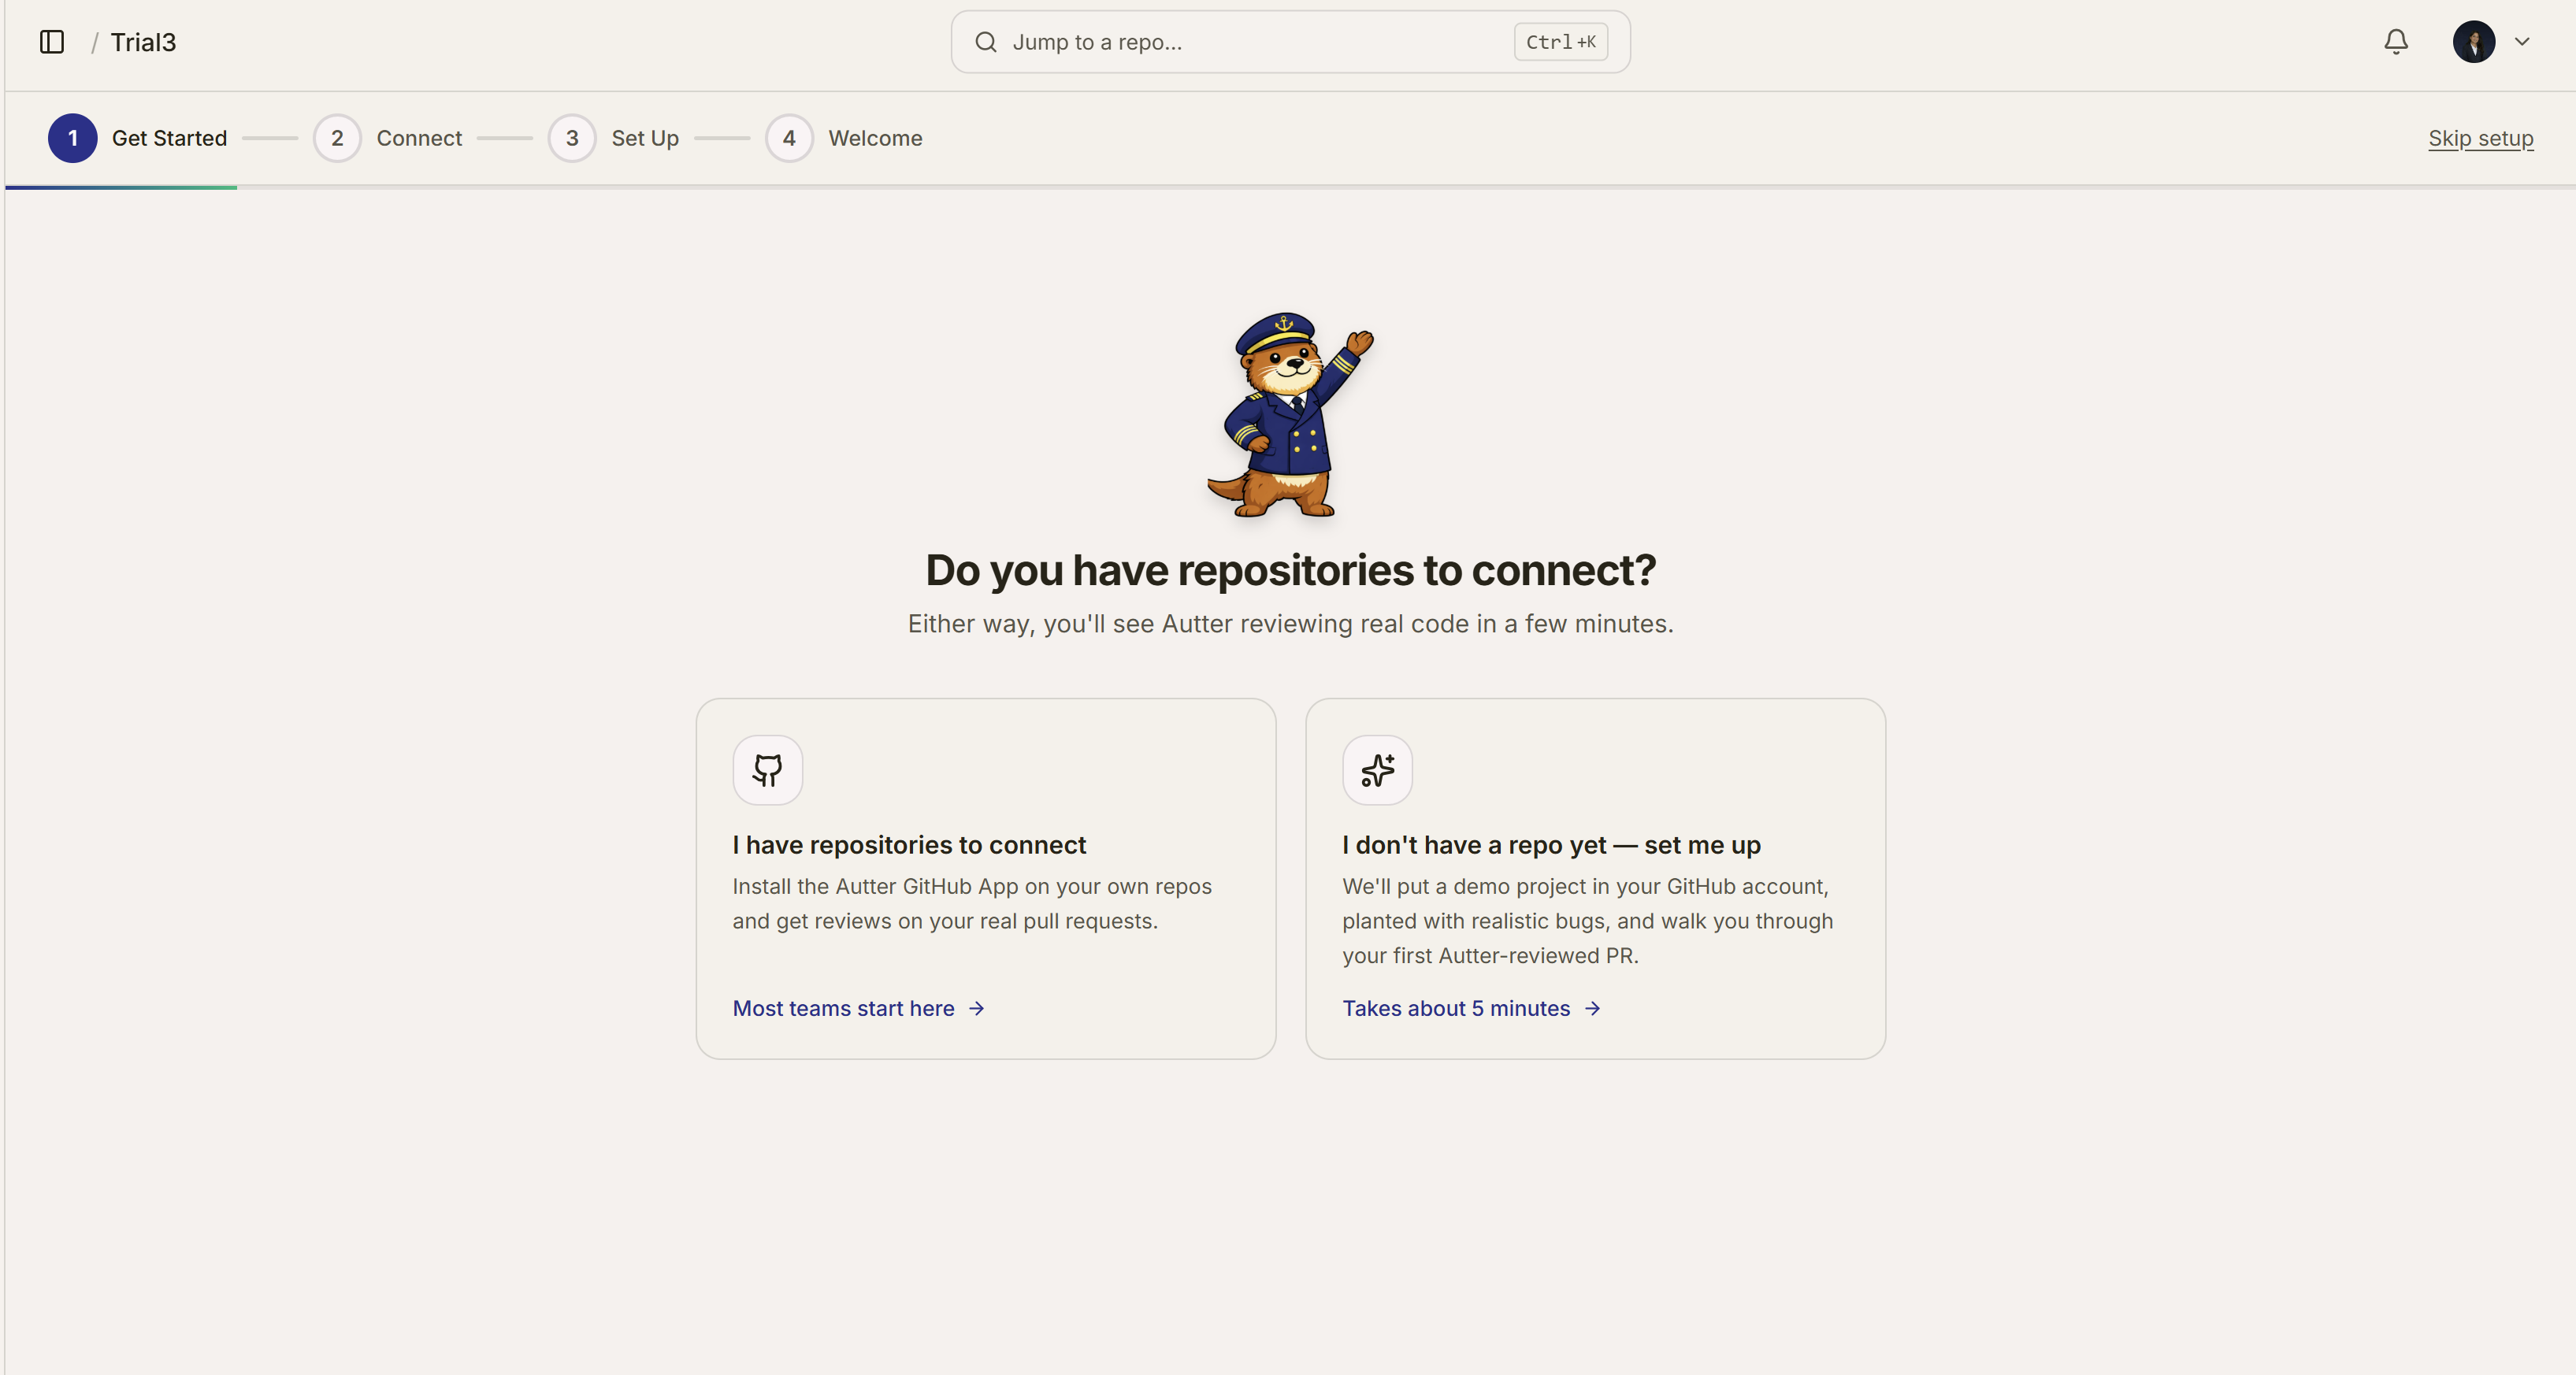
Step 5: Choose the demo setup
Click “I don’t have a repo yet – set me up”.
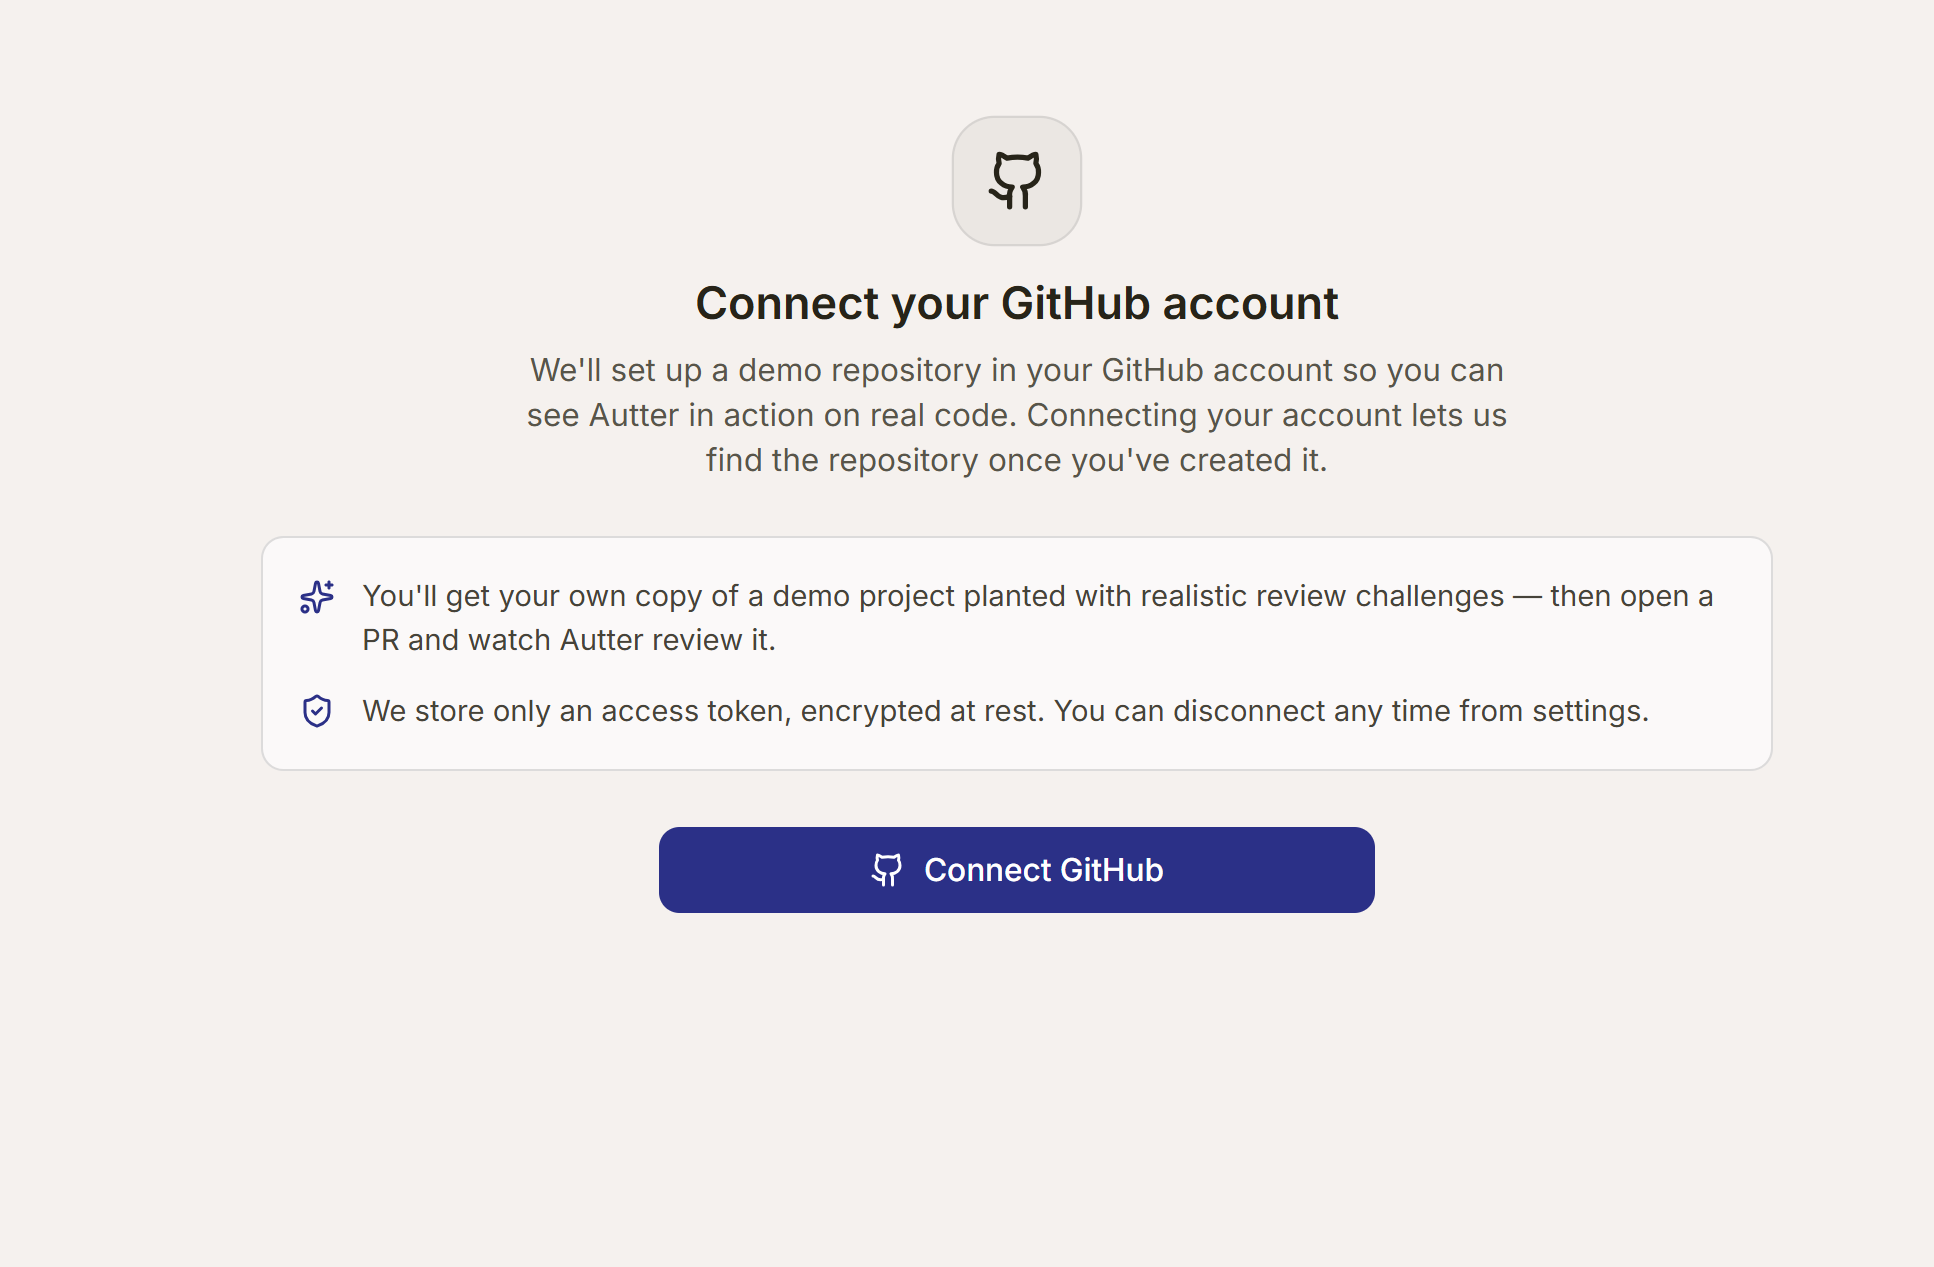
Step 6: Connect your GitHub account
Click Connect GitHub Account and complete the connection.
Step 7: Pick a demo project
After connecting GitHub, return to the Autter dashboard and pick a demo project.
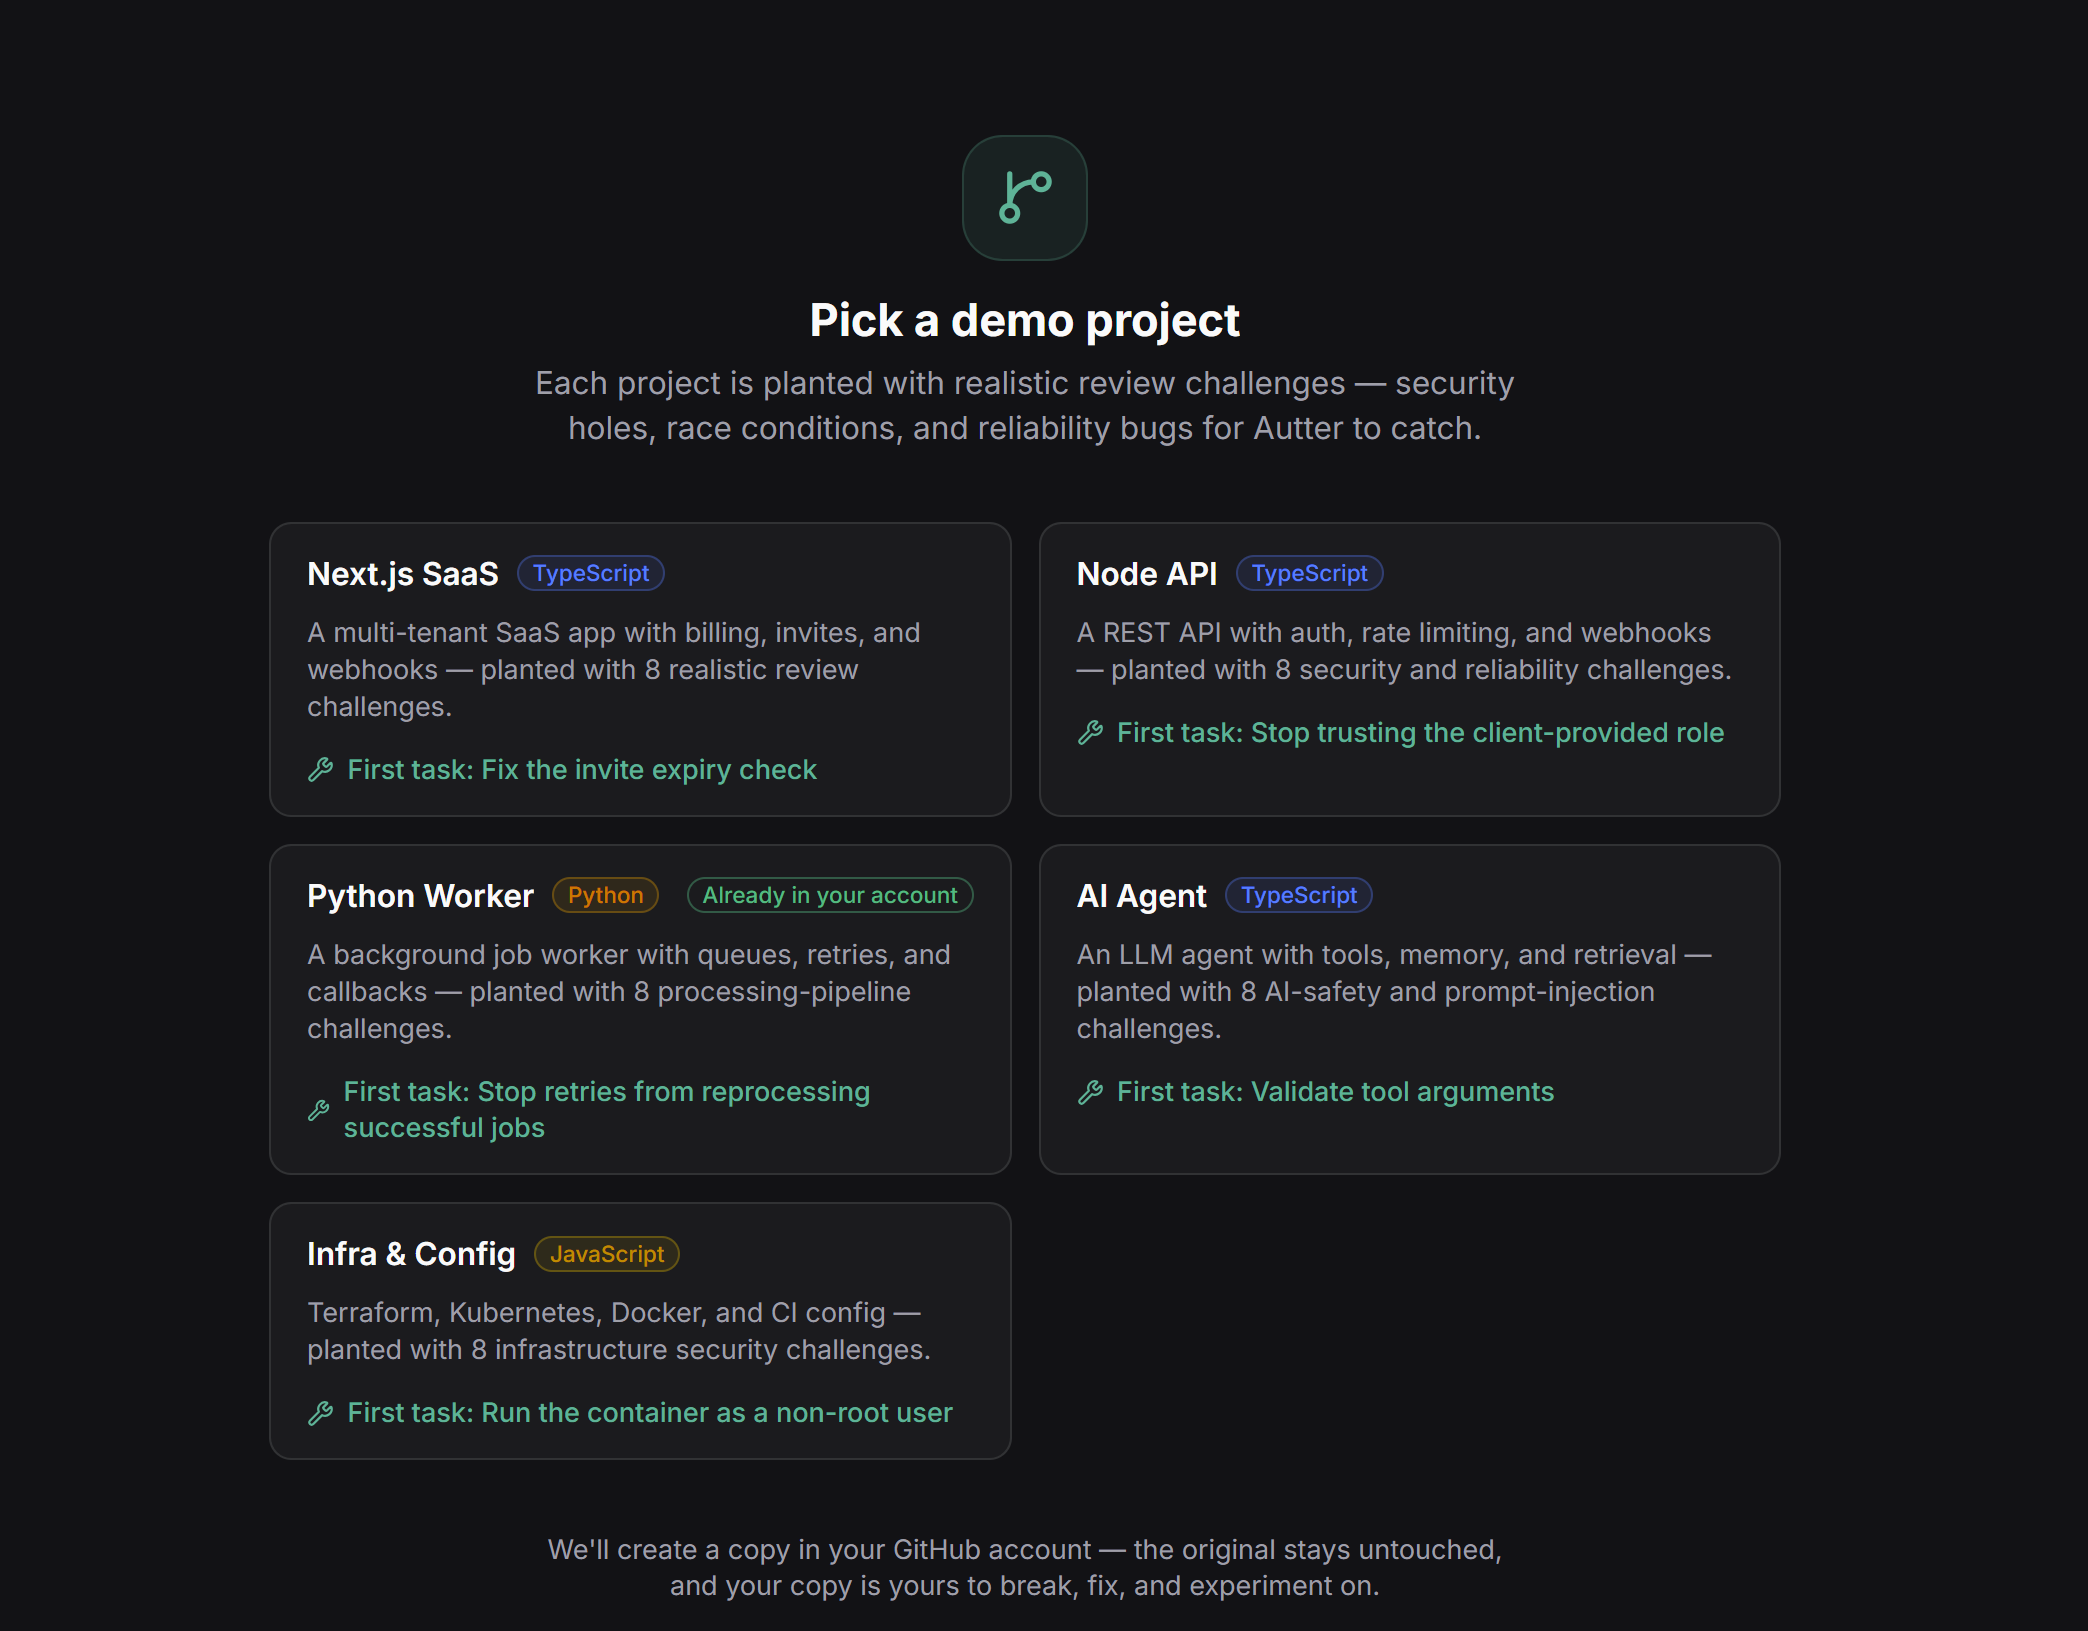
Step 8: Create your copy on GitHub
Select the project and create a copy of the repository in your GitHub account.
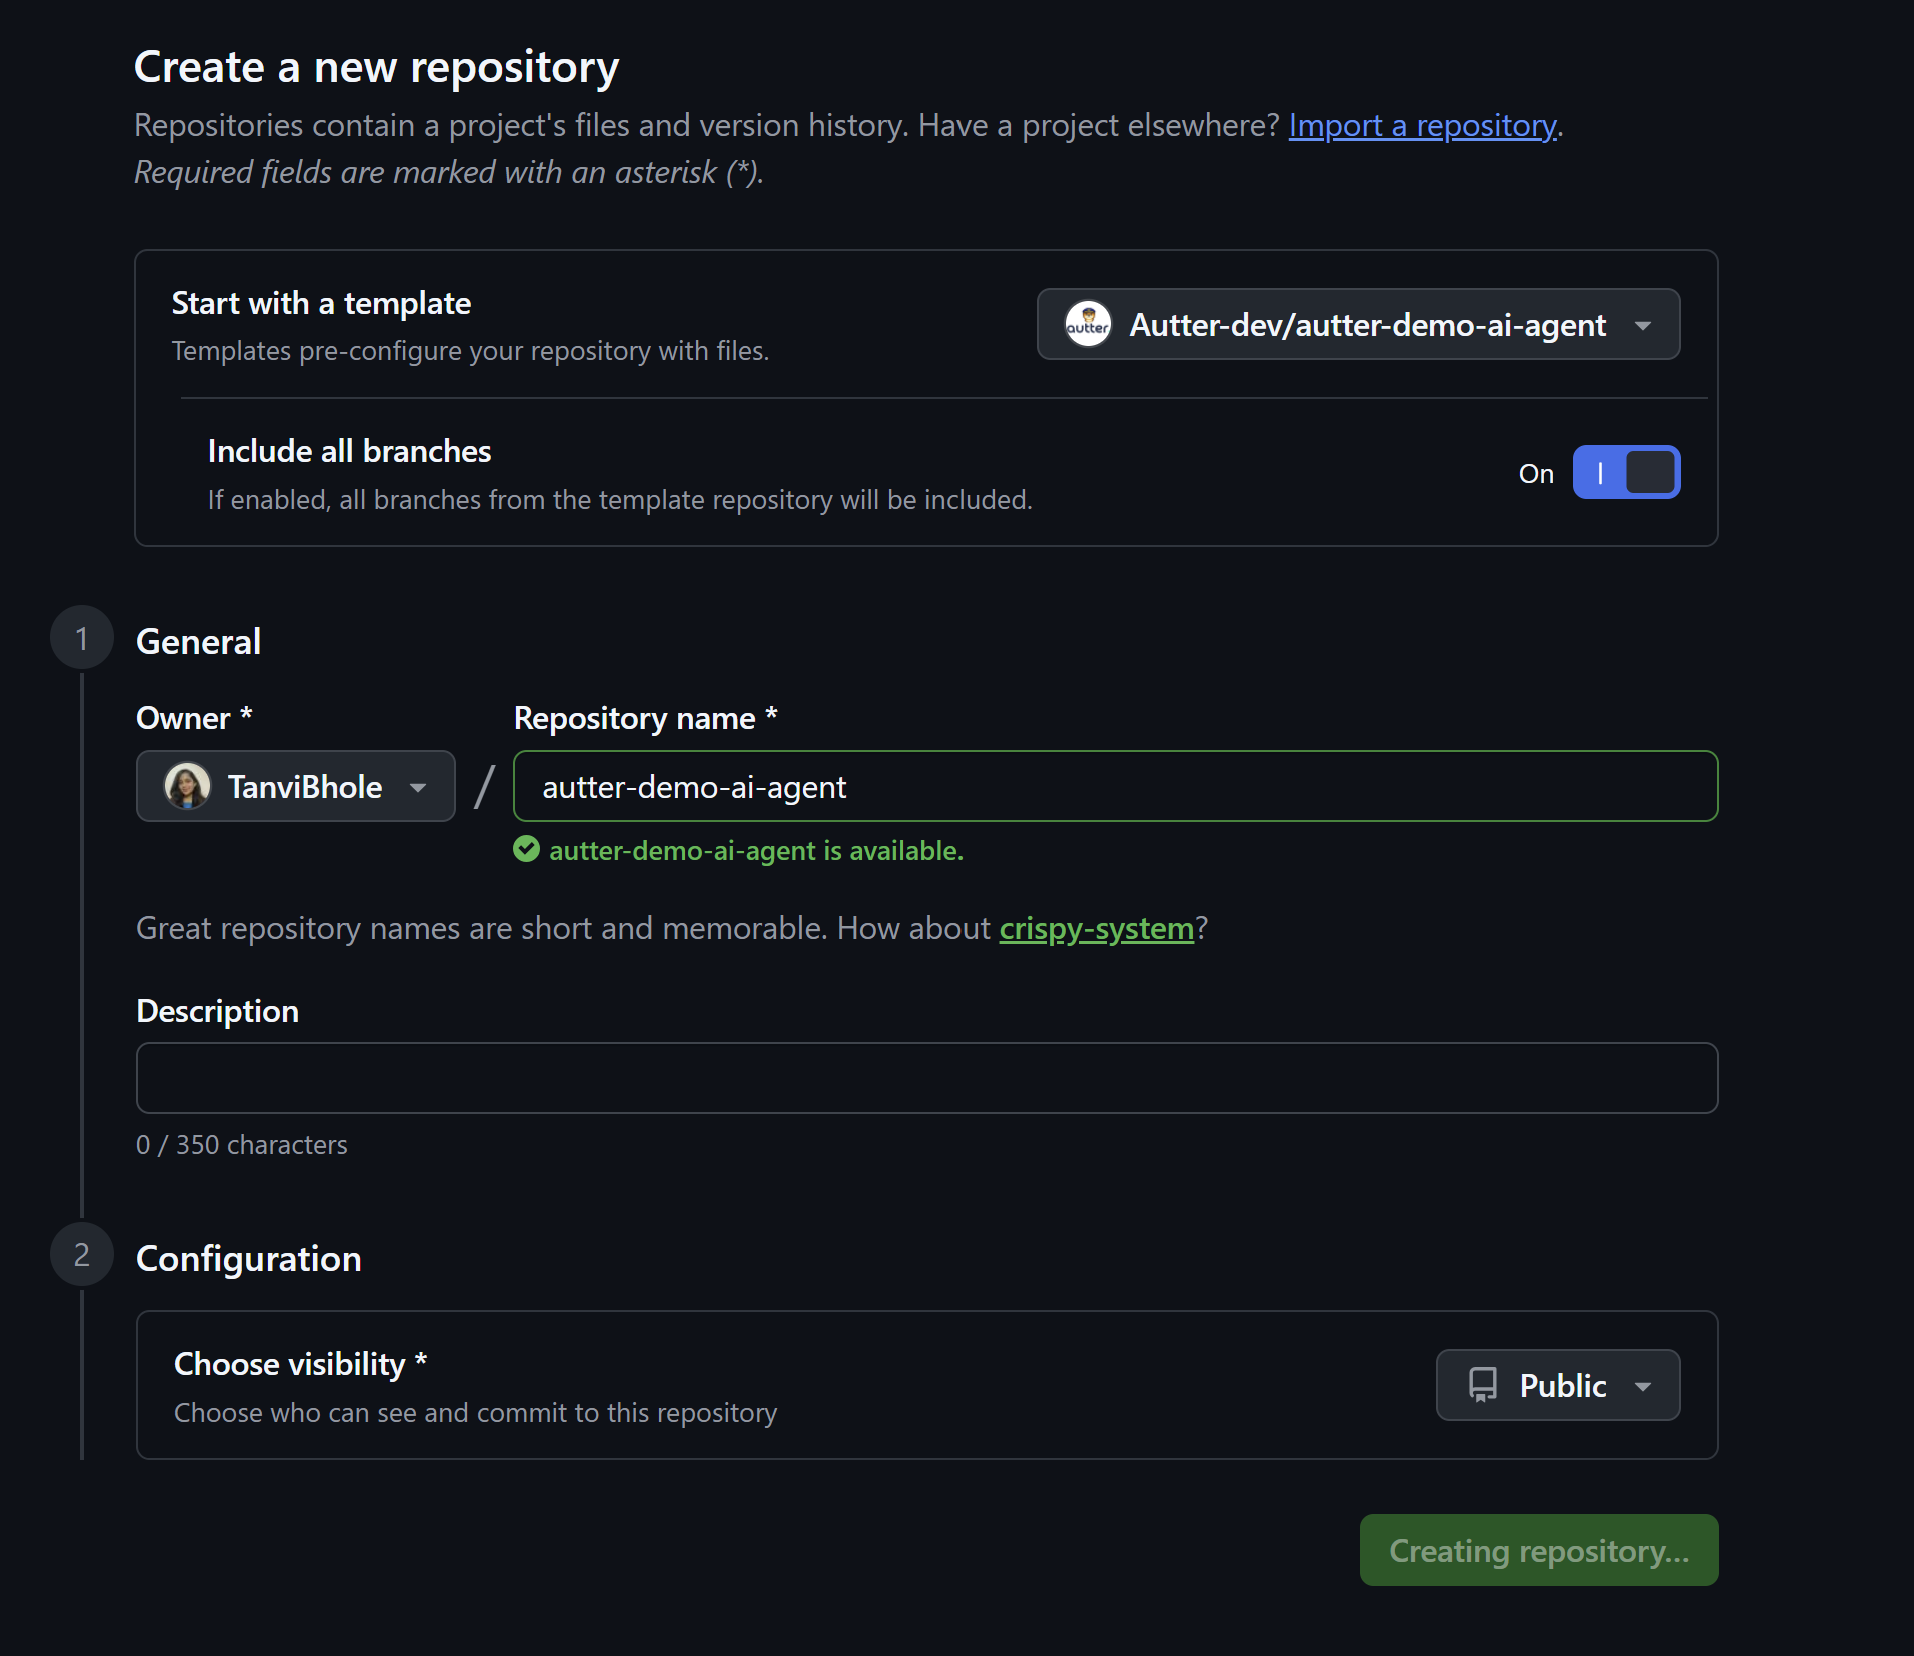
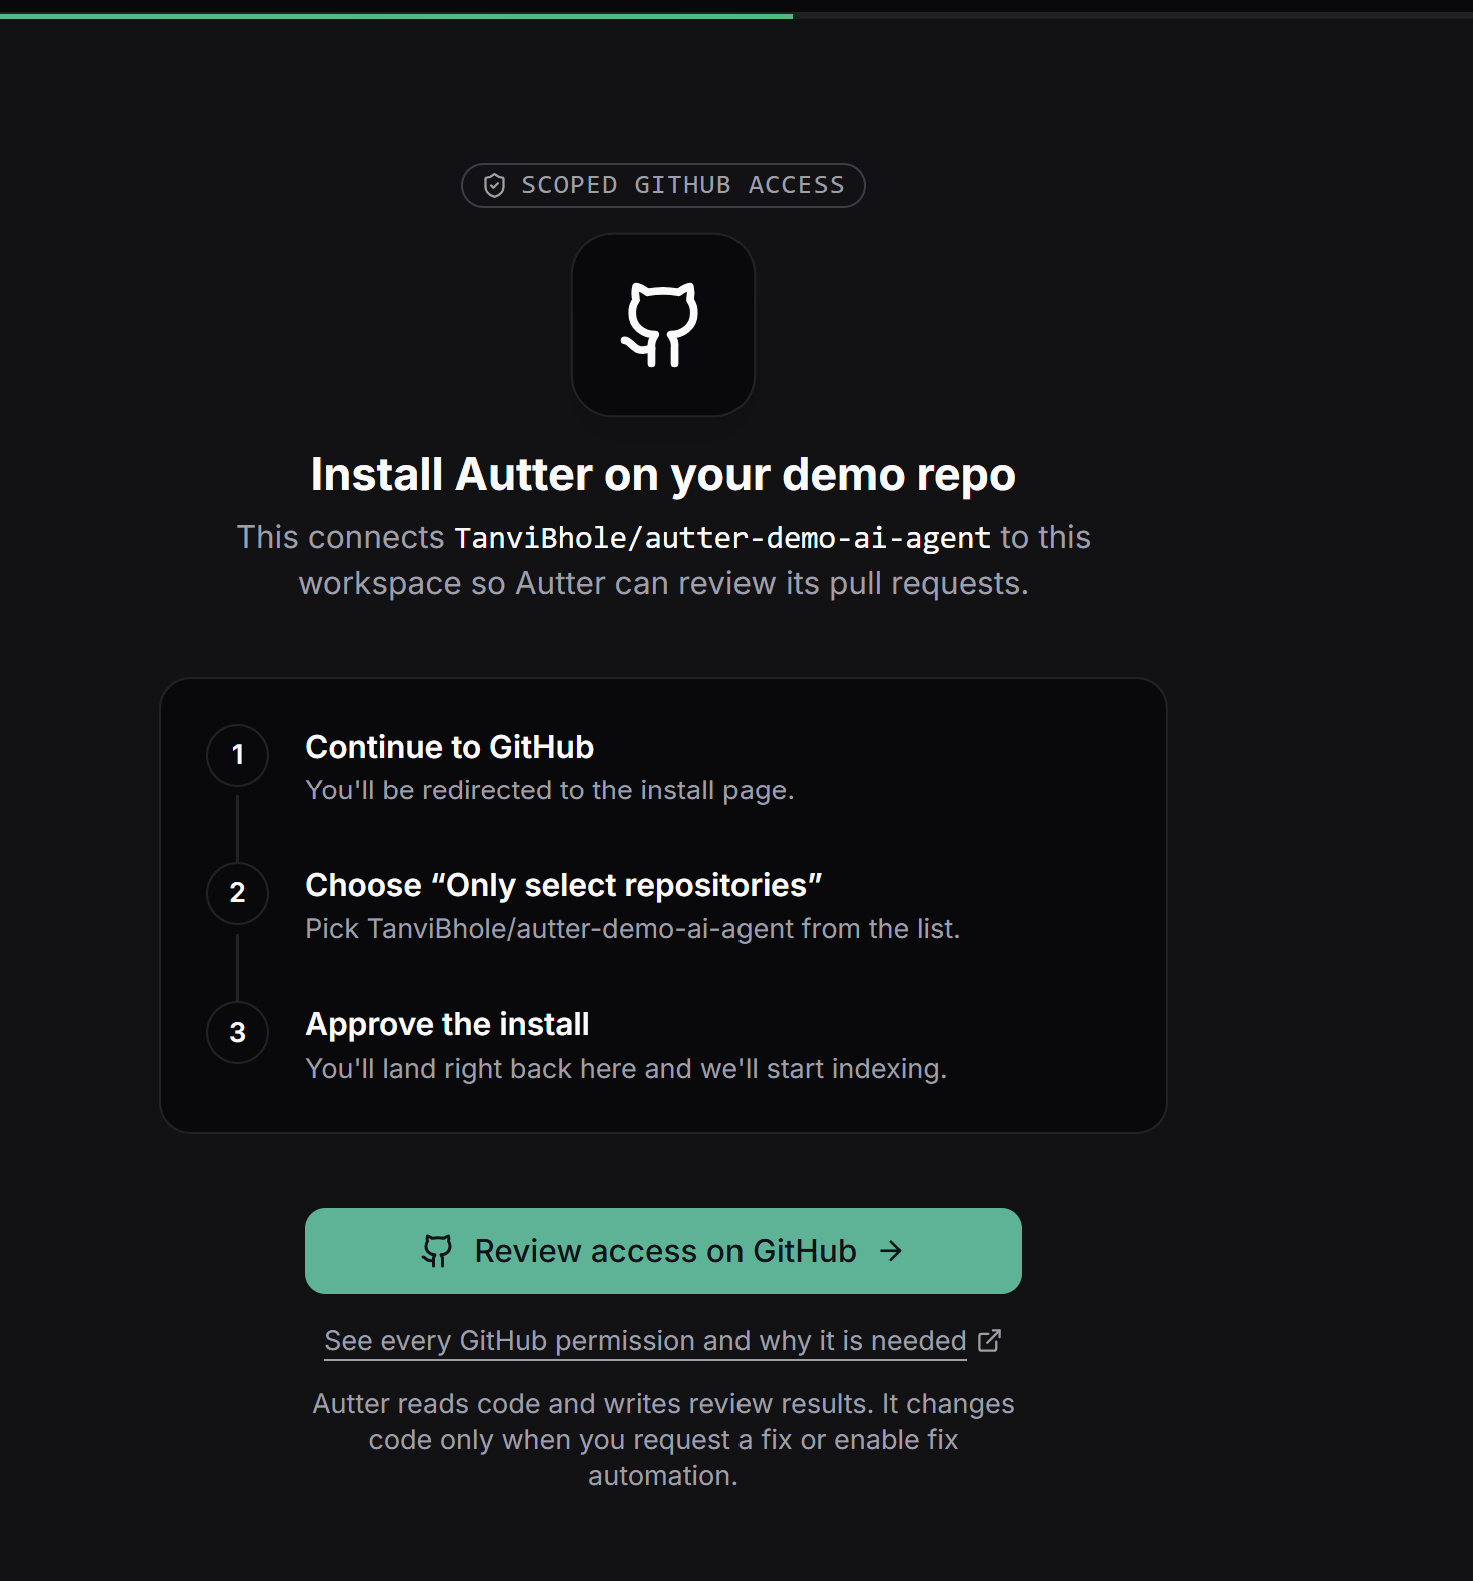
Step 9: Install Autter on your demo repo
Return to Autter after the repository has been created. Follow the prompt to install Autter on your demo repository, then review the requested access on GitHub and complete the installation.
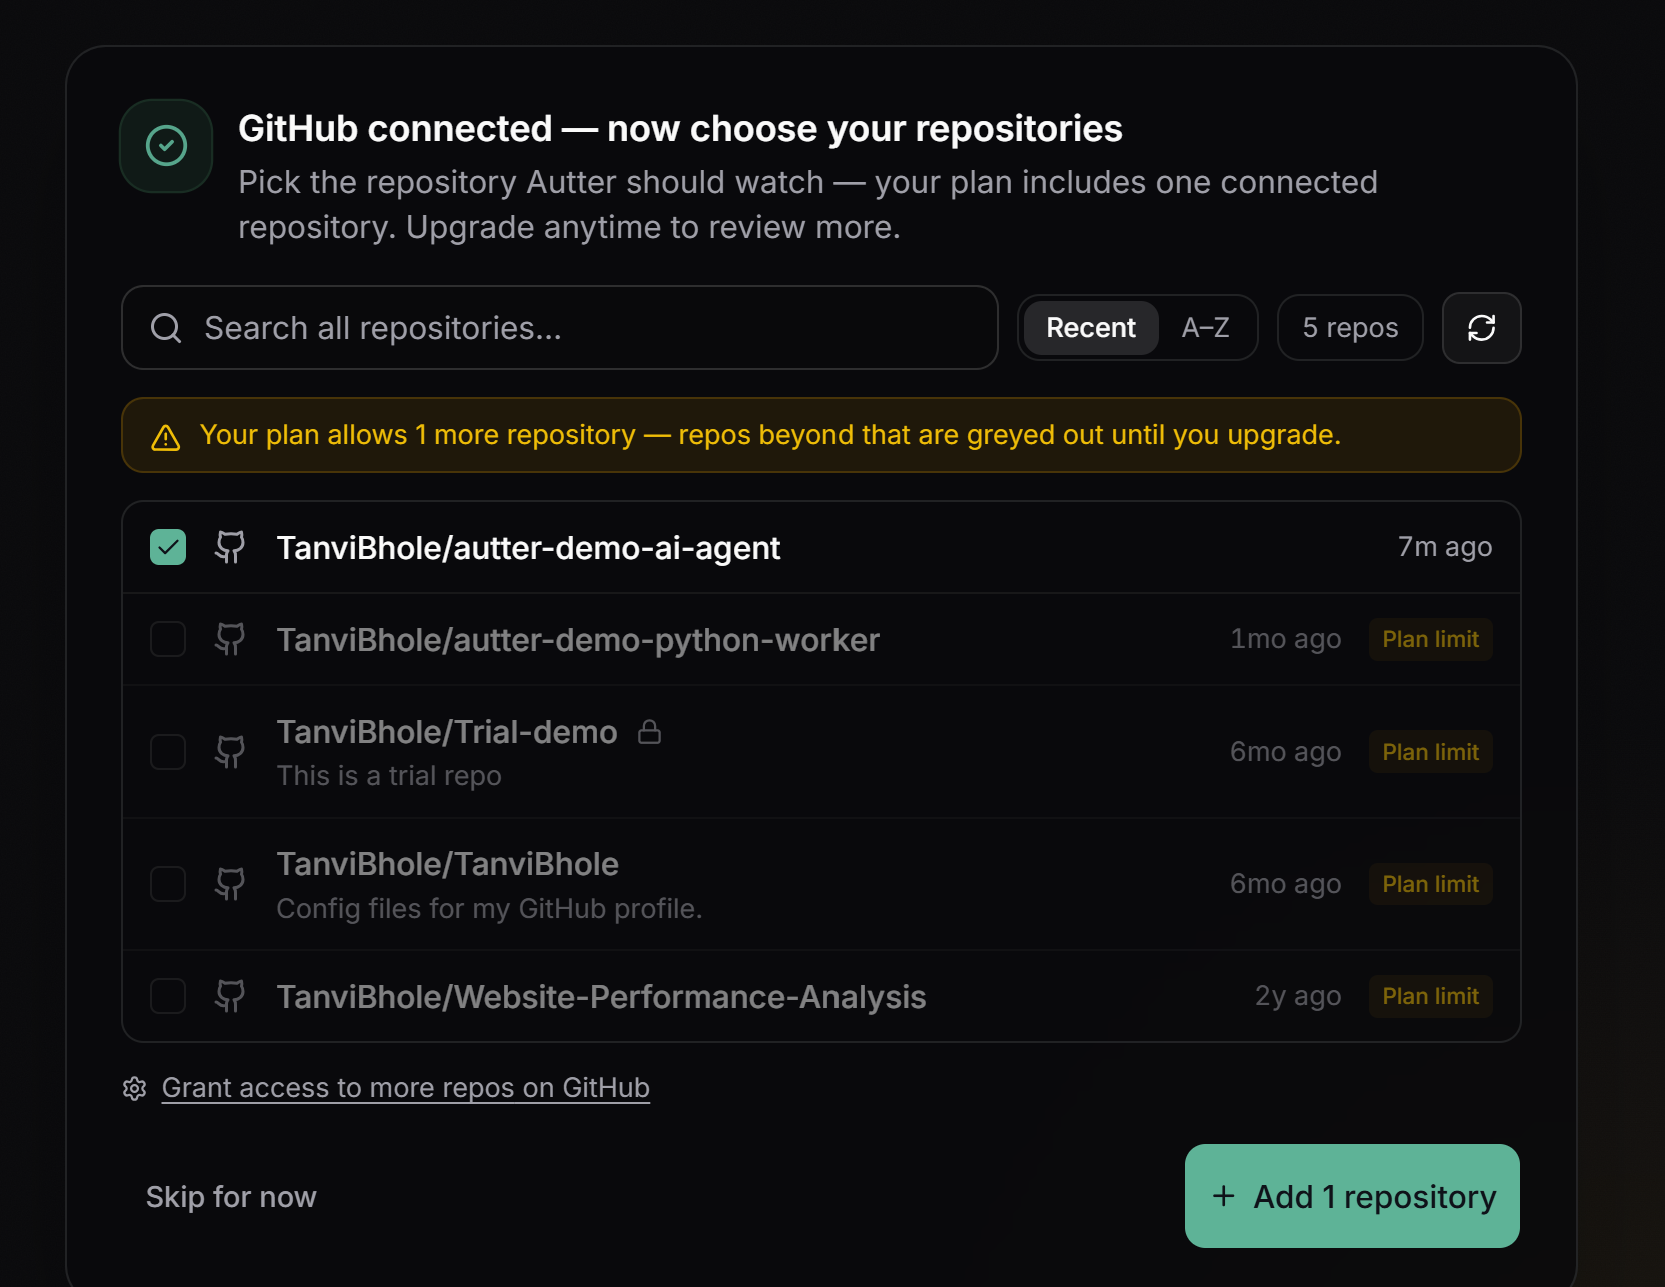
Step 10: Choose your trial repository
Select the trial repository you just created.
Step 11: You’re ready to explore
Your demo repository is ready. Enjoy trying Autter and exploring the trial waters!